
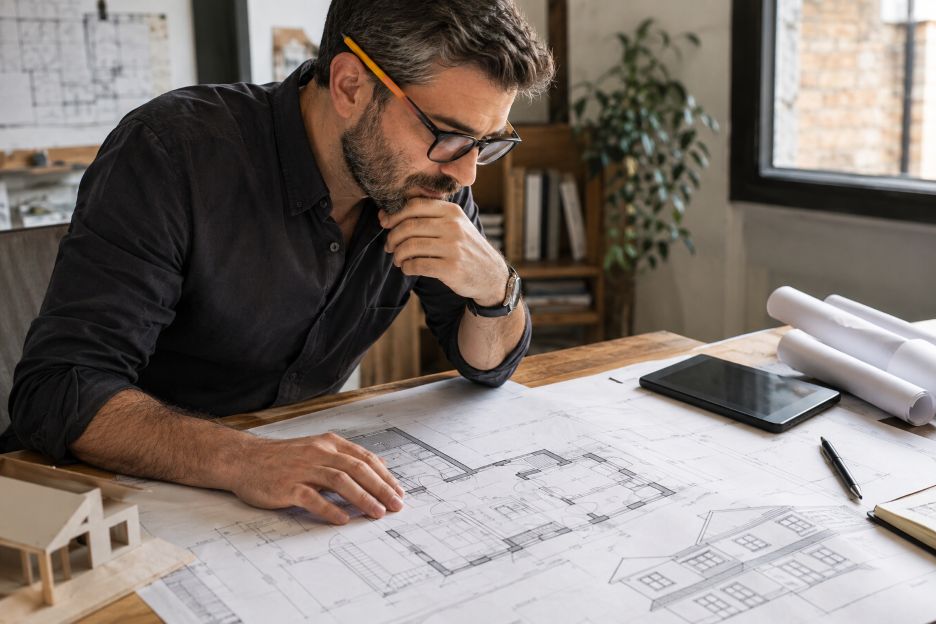
A successful home extension should respond to the proportions, materials, layout, and architectural character of the existing property. Guidance from Historic England stresses the importance of understanding a building’s character and setting when planning alterations. Without that connection, even a beautifully finished new room can feel noticeably separate from the rest of the house.
Many of these problems can be addressed before building work begins. When working with The Extension Company, for example, architectural and interior choices can be considered during the extension-design stage, when decisions about floor levels, structural openings, windows, lighting, and materials are still flexible. This early coordination also matters because extensions may need to meet Building Regulations covering structure, insulation, ventilation, fire safety, drainage, and electrical work, as outlined by the Planning Portal.
Step 1: Understand What Makes the Existing House Work
Start by examining the rooms that will connect directly to the extension. Ceiling heights, window proportions, door styles, skirting boards, flooring, fireplaces, and other architectural details all contribute to the character of a home.
Historic England advises homeowners to understand a property’s significance and previous alterations before making further changes. Although this guidance is especially relevant to older and historic buildings, the basic design principle applies more widely. Knowing what gives a house its identity makes it easier to decide which features should continue into the new space.
This does not mean copying every detail. A contemporary extension can sit successfully beside an older interior. The objective is to create a relationship between the two, rather than making the extension appear to belong to a completely different property.
Step 2: Use Flooring to Create a Natural Transition
Flooring is one of the most visible connections between adjoining spaces. Continuing the same timber, tile, stone, or similar material through the original room and extension can make the boundary less obvious. Where identical flooring is impractical, closely related colours, plank sizes, textures, or laying patterns can provide visual continuity.
Finished floor levels deserve attention at the same stage. Differences in structural build-up, insulation, or underfloor heating can affect the final height. If this is discovered too late, homeowners may end up with an unwanted step or threshold between spaces.
Discussing finished levels before construction gives designers and builders more opportunity to resolve these differences within the floor structure.
Step 3: Look Up at Ceiling Heights
Homeowners naturally focus on floor plans, but ceilings have a major influence on how connected rooms feel. Moving from a traditional room with a relatively low ceiling into a dramatically taller extension creates an obvious transition. That contrast may be desirable, but it should be intentional.
Consider how ceiling lines relate to door openings, structural beams, windows, cornices, and built-in furniture. Even when ceiling heights differ, repeating certain horizontal lines can establish a visual connection.
Rooflights and vaulted ceilings also need careful positioning. They can bring daylight deep into an extension, but their placement should support the overall composition of the room rather than simply filling available roof space.
Step 4: Test the Sightlines Before Building
Stand in the existing living room, hallway, kitchen, or dining area and imagine what will be visible through the new opening. These views, known as sightlines, influence how people experience the extension long before they physically enter it.
Historic England identifies elements including views, scale, light, shade, colour, texture, and patterns as factors that contribute to visual composition. Applying these ideas inside a home can help designers frame attractive views through connected spaces.
A doorway might align with a garden window, for instance, while a kitchen island could be positioned so it does not obstruct the view from the original room. Reviewing three-dimensional drawings or standing at key viewpoints with the plans can reveal issues that are easy to overlook on a standard floor plan.
Step 5: Plan Natural and Artificial Light Together
Rear extensions often introduce larger areas of glazing, rooflights, or glazed doors. These features can substantially change how daylight moves through the property. However, adding glass to the extension does not automatically make the original rooms brighter.
Historic England recommends considering how an extension could affect existing windows and daylight. A deep extension, for example, may place an existing room farther away from an external wall, making careful positioning of openings and rooflights particularly important.
Artificial lighting should be planned with the same level of care. Rather than treating the new room as a separate lighting project, consider the entire connected area. Similar colour temperatures, fixture finishes, and combinations of ambient, task, and accent lighting can make old and new spaces feel more consistent after dark.
Step 6: Build a Simple Material and Colour Palette
A seamless interior does not require every finish to match. Repeating a limited number of materials can create enough visual rhythm to connect different architectural periods.
Timber used in existing flooring might reappear in kitchen cabinetry or shelving. A metal finish from original door hardware could influence taps or light fittings. Similar principles of consistent design choices can also be seen in the way interior designers use coordinated colours, materials, and visual elements to establish a recognisable style. Within an extension, wall colours can continue through connecting spaces, while slightly different shades distinguish individual zones without creating a sharp break.
The Planning Portal encourages consideration of how extension materials and design relate to the existing property. Complementary materials can therefore be just as useful as exact matches, particularly where homeowners want the addition to remain identifiable as a newer part of the building.
Step 7: Check the Design Before Construction Starts
Changes made on drawings are generally easier to manage than changes made once walls, floors, and services are being installed. Before approving the final design, homeowners can review several practical points:
- Check finished floor levels across the old and new spaces.
- Compare ceiling heights, window proportions, and door openings.
- Review views from the main existing rooms into the extension.
- Confirm where daylight will reach at different times of day.
- Coordinate artificial lighting across connected spaces.
- Place flooring, paint, cabinetry, and material samples together.
- Confirm relevant planning and Building Regulations requirements.
- Check where structural beams, radiators, sockets, and switches will appear.
Making Old and New Feel Connected
An extension does not need to hide the fact that it is new. Older houses naturally evolve, and contemporary architecture can provide a clear contrast to traditional features. What matters is that the transition feels considered rather than accidental.
Flooring, ceiling heights, sightlines, light, materials, and colour all contribute to that experience. Resolving these elements during the design process gives homeowners a clearer picture of how the completed spaces will work together. The result can be an extension with its own character that still feels comfortably rooted in the house it was built to expand.

