
Hard, smooth surfaces reflect more sound than soft, porous materials, which can make a room feel lively or echo-prone. Guidance from the Occupational Safety and Health Administration explains that reflected sound can build up when it repeatedly bounces from hard walls, ceilings, and other surfaces. A feature wall can help address this issue, but its position, size, and materials need to be planned carefully.
The challenge is balancing appearance with acoustic performance. Decorative panels may create warmth and texture, yet their effect depends on their construction and placement. Products such as acoustic panels from QuietWalls can be considered as part of this type of interior plan. It is important, however, to understand the goal. Acoustic panels are mainly intended to manage reflections, echo, and reverberation within a room. They are different from soundproofing systems designed to limit sound transmission between spaces, a distinction also highlighted by the Acoustical Society of America.
A Step-by-Step Guide to Planning an Acoustic Feature Wall
A successful feature wall starts with the room rather than the panel. Before choosing colours or finishes, consider where reflections occur, how the room is used, and what must remain accessible after installation.
Step 1: Assess the Room’s Reflective Surfaces
Start by looking at the materials already in the room. Large windows, painted walls, hard flooring, glass tables, and other smooth finishes can contribute to reflected sound. Rooms containing several of these surfaces may have noticeable reverberation, particularly when they contain few curtains, rugs, upholstered pieces, or other absorptive materials.
The Acoustical Society of America notes that rooms with hard, sound-reflecting finishes tend to be more reverberant. Softer treatments, including acoustic wall panels and carpeting, can reduce reflected sound and improve speech intelligibility.
A simple listening test can provide an initial clue. Speak or clap from several points in the room and listen for lingering reflections. For spaces where acoustics are especially important, professional measurements provide more useful information than relying on perception alone.
Step 2: Choose the Right Wall
The largest empty wall is not automatically the best choice. Consider where people sit, talk, watch television, listen to music, or work. Sound-absorbing material is most useful when it can intercept reflections that would otherwise return to occupied areas.
Placement becomes particularly important in listening rooms. Acoustic design guidance from Arqen explains that treating early reflection points can reduce reflections reaching the listening position. The exact strategy will vary with the room, so the wall should be selected for both visual and acoustic reasons.
Step 3: Measure the Available Area
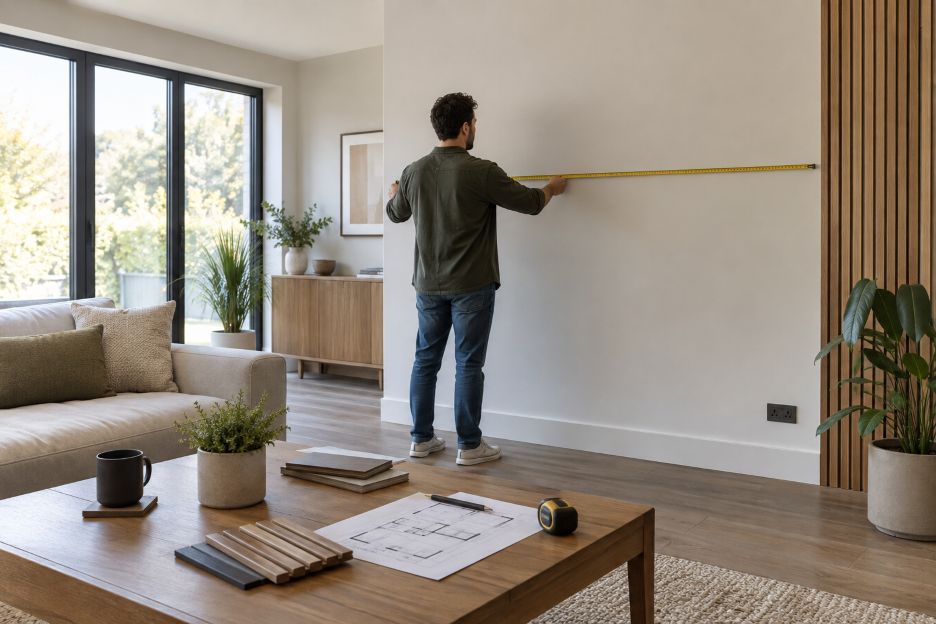
Measure the full width and height of the proposed feature wall. Then record anything that interrupts the surface. This may include doors, windows, switches, sockets, radiators, vents, televisions, shelving, and wall-mounted lights.
Do not assume that every centimetre needs to be covered. Partial coverage can create a deliberate architectural effect while leaving important fixtures accessible. Accurate measurements also help prevent awkward narrow sections at the edges.
Sketch the wall to scale before ordering materials. Mark the centre line and the positions of permanent fittings. This makes it easier to compare symmetrical, asymmetrical, and full-height layouts.
Step 4: Select a Finish That Fits the Room
Once the practical dimensions are clear, consider appearance. Timber-effect slats can introduce warmth and vertical rhythm. Fabric-covered treatments can create a softer look. Dark finishes may establish contrast, while pale finishes can blend more quietly with surrounding walls.
Look at the room as a whole rather than treating the wall as an isolated design element. Flooring, cabinetry, doors, furniture, and lighting already establish colours and textures. A feature wall generally feels more integrated when it responds to some of these existing elements.
Step 5: Plan How Much Coverage You Need
More coverage does not automatically produce a better room. Excessive absorption can make some spaces feel acoustically dull, while too little treatment may leave obvious reflections unchanged.
OSHA explains that sound-absorbing materials reduce the buildup of sound in a reverberant field, especially in spaces with hard surfaces. Their effectiveness also varies with factors such as material type, thickness, density, and sound frequency.
This is why panel coverage should be based on the room’s needs rather than appearance alone. A living room with rugs, curtains, and upholstered furniture may require a different approach from an open office with glass, concrete, and hard flooring.
Step 6: Coordinate Panels With Furniture and Technology
Now map out everything that will sit against or attach to the finished wall. A television may need a mounting bracket and cable route. A console could cover the bottom section. Sockets and switches need to remain usable, while wall lights may require precise openings.
Think about furniture dimensions before fixing the final panel layout. A centred design can look unbalanced if a large sofa, television, or cabinet later sits noticeably off-centre. Taking a broader approach to energy-aware interior planning can also help ensure that wall treatments, furniture, lighting, and other room features are considered together rather than as separate design decisions.
Lighting deserves similar attention. Wall washers and directional lights can emphasise panel texture, but their cables, mounting points, and clearances should be considered before installation begins. Planning these elements together reduces the need to cut or modify finished sections later.
Step 7: Check the Installation Plan Before Starting
Review the entire wall once more before installation. Confirm dimensions, panel orientation, edge details, socket positions, television brackets, lighting points, and furniture clearances. Also check the manufacturer’s installation requirements, since fixing methods vary between panel systems.
If the project involves moving electrical fittings, installing new wiring, or altering permanent building services, the relevant work should be handled by appropriately qualified tradespeople.
Plan for Both Appearance and Acoustics
An acoustic feature wall works best when visual design and room acoustics are considered together. Start with the surfaces that already shape the room’s sound. Then choose the wall, measure carefully, decide how much coverage makes sense, and coordinate the design with furniture and fixed services.
Most importantly, set realistic expectations. Wall treatments can help control reflections and reverberation, but sound absorption and sound isolation solve different problems. The Acoustical Society of America notes that materials that absorb sound well are not necessarily effective sound barriers. If the goal is to stop significant noise passing through a wall, a broader sound-isolation strategy may be needed.
Planning around that distinction makes the finished feature wall more purposeful. It can introduce texture and visual interest while addressing the acoustic conditions of the room, without expecting a decorative treatment to perform a job it was never designed to do.


